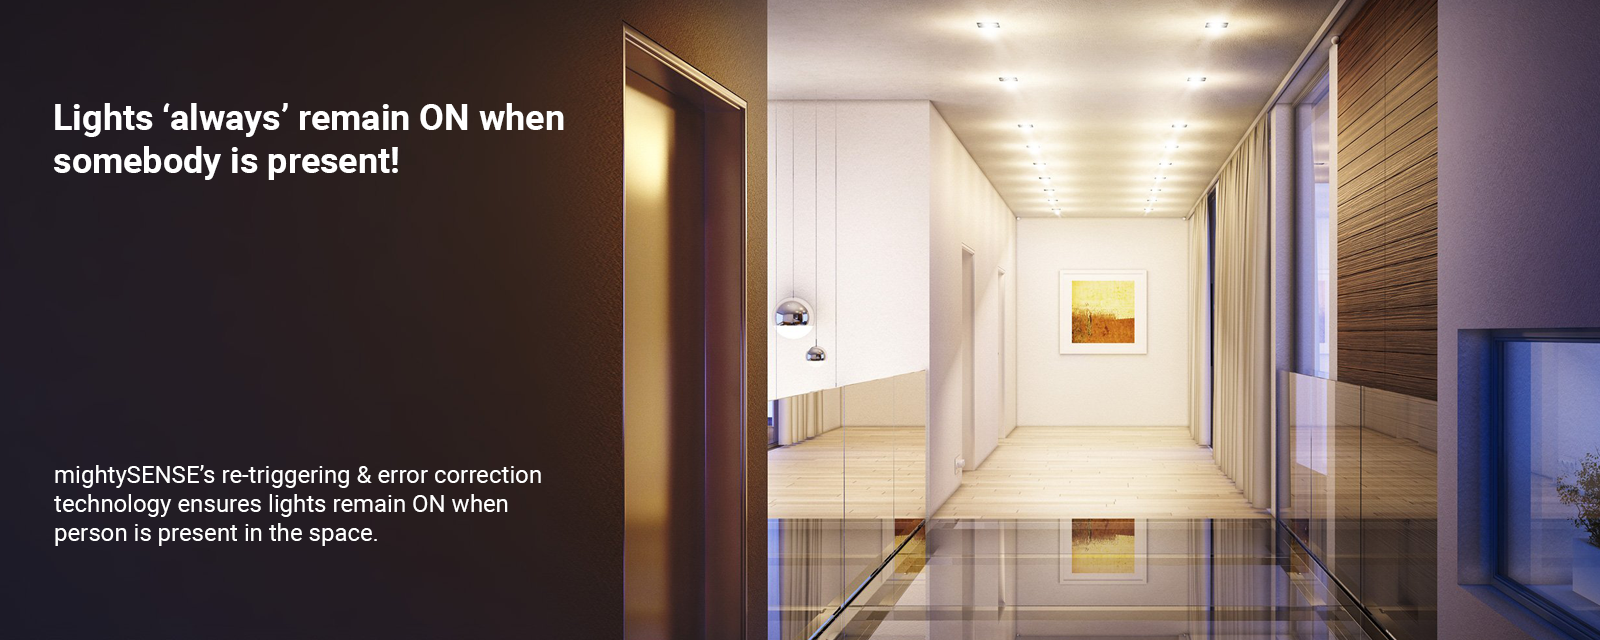
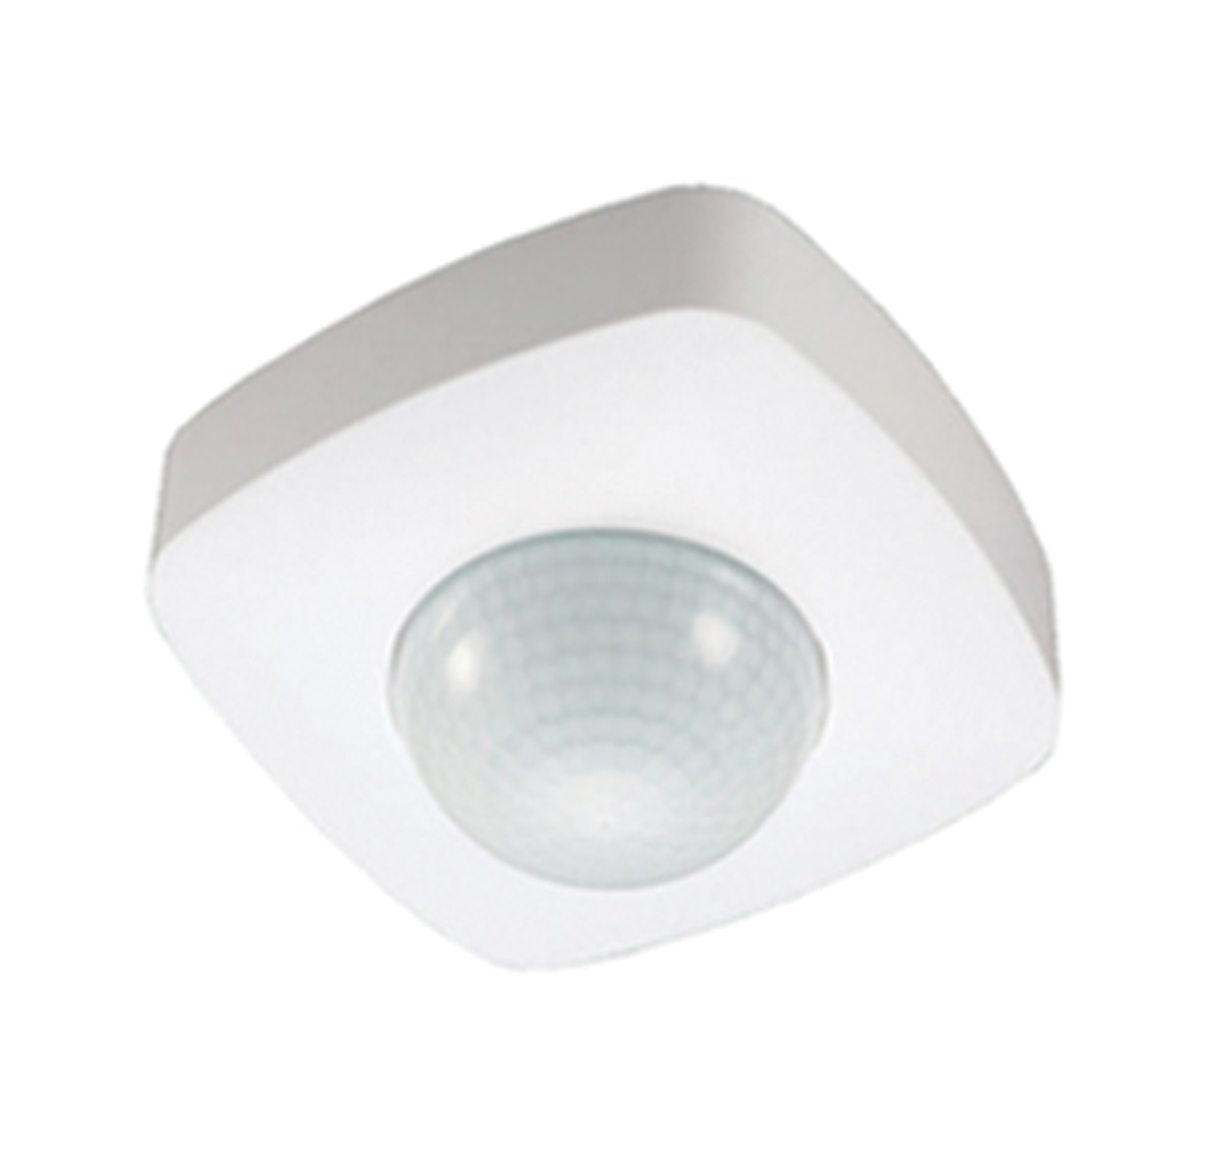
3 – Detector PIR Long Range, High Sensitivity Sensor
This is suitable for involuntary load switching in spaces where applications are required to be dependent on Human Motion. mightyHOME Pro Sensor Switch PIR Presense-1A detects InfraRed (IR) energy from human to automate loads, specifically for lighting & intruder security. It is a smart energy-saving product.
Package Includes
-
1x (mightyHOME Pro Sensor Switch PIR Presense-1A – MHPSSPIRP1A)
-
Screws for connection
-
Installation Manual
Features
-
Detection of only Human Motion
-
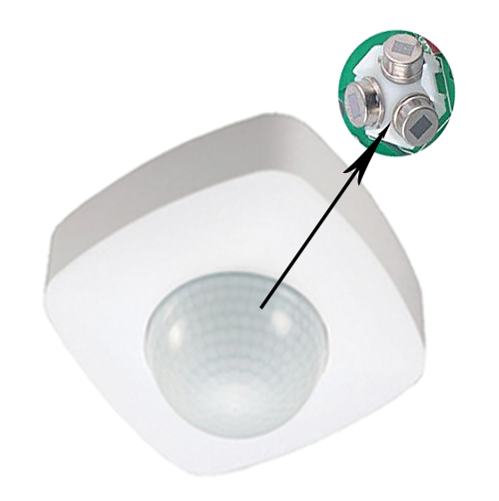
Long Range Detection due to 3 Detectors
Benefits
-
Energy-saving
-
Convenience of automation of lights by detection of human motion
3 Detectors in PIR Sensor
3 Detectors in PIR Sensor for Long Range & High Sensitivity
Technical specifications
| Type | Motion Detectors |
| Sensor Technology | Passive Infrared |
| Application, place | Indoors, outdoors |
| Type of installation | Ceiling / Wall Mount |
| Material | Plastic |
| Colour | White |
| Power Sourcing | 220-240 V AC |
| Power Frequency | 50 Hz |
| Ambient Light | < 3-2000 LUX (Adjustable) |
| Time Delay | Min. 10 Sec ± 3 Sec – Max. 30 min. ± 2 min. |
| Rated Load | 1000 W (Resistive) 300 W (Motor) |
| Power Consumption | Approx. 0.5 W |
| Detection Range | 360° (x3 Detectors) |
| Sensitivity | Ultra Micro Detections |
| Detection Distance | 20 m max. ( < 24° C ) |
| Working Temperature | -20° ~ 40° C |
| Working Humidity | < 93% Rh |
| Installing Height | 2.2 m – 6 m |
| Error Protection | Anti-Malfunction |
| Operation Modes | 1) Motion 2) Motion + LUX |
How To Install
Installation
-
Switch off the power.
-
Turn the bottom-cover anti-clockwise and unload it.
-
The power wire goes across the hole in the middle of bottom-stand. Connect the power wire into connection-wire column according to the connection-wire diagram.
-
Fix the bottom-stand on the selected position with inflated screw.
-
The sensor should be aimed at the mouth of bottom-stand and turned clockwise.
-
After finishing installing, turn on the power and then test it.
-
Turn the TIME knob anti-clockwise on the minimum (-).Turn the LUX knob anti-clockwise on the maximum (sun).
-
Switch on the power; the sensor and its connected lamp will have no signal at the beginning. After Warm-up 30sec, the sensor can start work. If the sensor receives the induction signal, the lamp will turn on. While there is no another induction signal any more, the load should stop working within 10sec ± 3sec and the lamp would turn off.
-
Turn LUX knob clockwise on the minimum (moon). If the ambient light is more than 3LUX, the sensor will not work and the lamp will stop working too.
-
If the ambient light is less than 3LUX (darkness), the sensor would work. Under no induction signal condition, the sensor should stop working within 10sec ± 3sec.
-
Turn the TIME knob anti-clockwise on the minimum (-).Turn the LUX knob anti-clockwise on the maximum (sun).
Notes
-
When testing in daylight, please turn LUX knob to (SUN) position, otherwise the sensor lamp could not work!
-
Electrician or experienced human can install it.
-
It Cannot be installed on the uneven and shaky surface.
-
In front of the sensor there shouldn’t be obstructive object affecting detection.
-
Avoid installing it near the metal and glass which may affect the sensor.
-
For your safety, please don’t open the case if you find hitch after installation.
-
In order to avoid the unexpected damage of product, please add a safe device of current 6A when installing microwave sensor, for example, fuse, safe tube etc.
Installation Diagram
Installing Sensor

Connection - Wire Diagram

Sensor Configuration

Installation Advice

As the detector responds to changes in temperature, avoid the following situations:
-
Avoid pointing the detector towards objects with highly reflective surfaces, such as mirrors, etc.
-
Avoid mounting the detector near heat sources, such as heating vents, air conditioning units, lights, etc.
-
Avoid pointing the detector towards objects that may move in the wind, such as curtains, tall, plants, etc.


Troubleshooting Guidelines
The load don’t work:
- Check the power and the load.
- Whether the indicator light is turned on after sensing? If yes, please check load.
- If the indicator light is not on after sensing, please check if the working light corresponds to the ambient light.
- Please check if the working voltage corresponds to the power source.
The sensitivity is poor:
- Please check if in front of the sensor there shouldn’t be obstructive object that affect to receive the signals.
- Please check if the signal source is in the detection fields.
- Please check the installation height.
The sensor can’t shut automatically the load:
- If there are continual signals in the detection fields.
- If the time delay is set to the longest.
- If the power corresponds to the instruction.
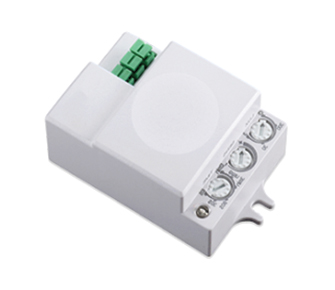
Mini Microwave Motion Sensor
This is suitable for involuntary load switching in spaces where use of lights is random. It is suitable for light switching on/off by detecting motion in car parking, washrooms, corridors, server rooms, offices, pantry, etc. It is a smart energy-saving product.
Package Includes
-
1x (mightyHOME Pro Sensor Switch Microwave Mini-1A – MHPSSMM1A)
-
Screws for connection
-
Installation Manual
Features
-
Ultra – sensitive: Detects ultra ‘micro’ motion
-
Detection is possible through thin ceiling, thin walls
Benefits
-
Energy-saving
-
Convenience of automation of lights by detection of ‘micro’ motion
Technical specifications
| Type | Motion Detectors |
| Sensor Technology | Microwave High frequency |
| Application, place | Indoors |
| Type of installation | Surface - Ceiling Mount, Wall Mount / Conceal – Ceiling Mount, Wall Mount |
| Detection angle | 360°/180° |
| Material | Plastic |
| Colour | White |
| Power Sourcing | 220 – 240 V AC |
| Power Frequency | 50 Hz |
| Ambient Light | < 3 – 2000 LUX (Adjustable) |
| Time Delay | Min. 10 sec. ± 3 sec. – Max. 12 min. ± 1 min. |
| Rated Load | 1000 W (Resistive) 300 W (Motor) |
| Power Consumption | Approx. 0.9 W |
| Detection Distance | Wall: 5 – 15 m, adjustable Ceiling: 1 – 8 m (radius), adjustable |
| HF System | 5.8 GHz CW radar, ISM band |
| Transmission Power | < 0.2 mW |
| Installing Height | Wall: 1.5-3.5m, Ceiling: 2-8m |
| Detection Motion Speed | 0.6 – 1.5 m/s |
| Sensitivity | Ultra Micro Detections |
| Error Protection | Anti – Malfunction |
| Operation Modes | 1) Motion 2) Motion + LUX |
How To Install
Installation
-
Switch off the power.
-
Please whirl the upper cover anti-clockwise to unload it.
-
Connect the power and the load with the sensor as per the connection-wire diagram.
-
Fix the bottom on the selected position with the inflated screw.
-
Install back the upper cover. Then you could switch on the power and test it.
-
Turn the LUX knob clockwise on the maximum (sun). Turn the SENS knob clockwise on the maximum (+). Turn the TIME knob anti-clockwise on the minimum (10s).
-
When you switch on the power, the light will be on at once. And 10sec ± 3sec later the light will be off automatically. Then if the sensor receives detection signal again, it can work normally.
-
When the sensor receives the second detection signals within the first induction, it will restart to time from the moment.
-
Turn LUX knob anti-clockwise on the minimum (3). If the ambient light is less than 3LUX (darkness), the inductor load could work when it receives induction signal.
Notes
-
When testing in daylight, please turn LUX knob to (SUN) position, otherwise the sensor lamp shall not work!
-
Electrician or experienced human can install it.
-
It Cannot be installed on the uneven and shaky surface.
-
In front of the sensor there shouldn’t be obstructive object affecting detection.
-
Avoid installing it near the metal and glass which may affect the sensor.
-
For your safety, please don’t open the case if you find hitch after installation.
-
In order to avoid the unexpected damage of product, please add a safe device of current 6A when installing microwave sensor, for example, fuse, safe tube etc.
Installation Diagram
Installing Sensor

Connection - Wire Diagram

Sensor Configuration

Troubleshooting Guidelines
The load don’t work:
- Check the power and the load.
- Whether the indicator light is turned on after sensing? If yes, please check load.
- If the indicator light is not on after sensing, please check if the working light corresponds to the ambient light.
- Please check if the working voltage corresponds to the power source.
The sensitivity is poor:
- Please check if in front of the sensor there shouldn’t be obstructive object that affect to receive the signals.
- Please check if the signal source is in the detection fields.
- Please check the installation height.
The sensor can’t shut automatically the load:
- If there are continual signals in the detection fields.
- If the time delay is set to the longest.
- If the power corresponds to the instruction.
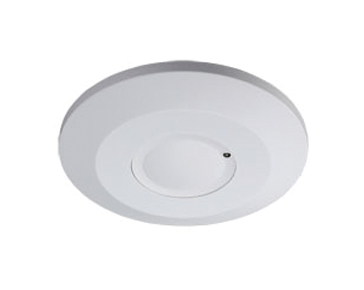
Flat Microwave Motion Sensor
This is suitable for involuntary load switching in spaces where use of lights is random. It is suitable for light switching on/off by detecting motion in car parking, washrooms, corridors, server rooms, offices, pantry, etc. It is a smart energy-saving product.
Package Includes
-
1x ( mightyHOME Pro Sensor Switch Microwave Flat-1A – MHPSSMF1A )
-
Screws for connection
-
Installation Manual
Features
-
Ultra – sensitive: Detects ultra ‘micro’ motion
Benefits
-
Energy-saving
-
Convenience of automation of lights by detection of ‘micro’ motion
Technical specifications
| Type | Motion Detectors |
| Sensor Technology | Microwave High frequency |
| Application, place | Indoors |
| Type of installation | Ceiling Mount |
| Detection angle | 360 ° |
| Material | Plastic |
| Colour | White |
| Power Sourcing | 220 – 240 V AC |
| Power Frequency | 50 / 60 Hz |
| Ambient Light | < 3 – 2000 LUX (Adjustable) |
| Time Delay | Min. 10 sec. ± 3 sec. – Max. 12 min. ± 1 min. |
| Rated Load | 1000 W (Resistive) 300 W (Motor) |
| Power Consumption | Approx. 0.9 W |
| Detection Distance | 1 – 8 m (radius), adjustable |
| HF System | 5.8 GHz CW radar, ISM band |
| Transmission Power | < 0.2 mW |
| Installing Height | 2 m – 6 m |
| Detection Motion Speed | 0.6 – 1.5 m/s |
| Sensitivity | Ultra Micro Detections |
| Error Protection | Anti – Malfunction |
| Operation Modes | 1) Motion 2) Motion + LUX |
How To Install
Installation
-
Switch off the power.
-
Please whirl the upper cover anti-clockwise to unload it.
-
Connect the power and the load with the sensor as per the connection-wire diagram.
-
Fix the bottom on the selected position with the inflated screw.
-
Install back the upper cover. Then you could switch on the power and test it.
-
Turn the LUX knob clockwise on the maximum (sun). Turn the SENS knob clockwise on the maximum (+). Turn the TIME knob anti-clockwise on the minimum (10s).
-
When you switch on the power, the light will be on at once. And 10sec ± 3sec later the light will be off automatically. Then if the sensor receives detection signal again, it can work normally.
-
When the sensor receives the second detection signals within the first induction, it will restart to time from the moment.
-
Turn LUX knob anti-clockwise on the minimum (3). If the ambient light is less than 3LUX (darkness), the inductor load could work when it receives induction signal.
Notes
-
When testing in daylight, please turn LUX knob to (SUN) position, otherwise the sensor lamp shall not work!
-
Electrician or experienced human can install it.
-
It Cannot be installed on the uneven and shaky surface.
-
In front of the sensor there shouldn’t be obstructive object affecting detection.
-
Avoid installing it near the metal and glass which may affect the sensor.
-
For your safety, please don’t open the case if you find hitch after installation.
-
In order to avoid the unexpected damage of product, please add a safe device of current 6A when installing microwave sensor, for example, fuse, safe tube etc.
Installation Diagram
Installing Sensor

The wires come in and out from the bottom

The wires come in and out from the side

Connection - Wire Diagram

Sensor Configuration

Troubleshooting Guidelines
The load don’t work:
- Check the power and the load.
- Whether the indicator light is turned on after sensing? If yes, please check load.
- If the indicator light is not on after sensing, please check if the working light corresponds to the ambient light.
- Please check if the working voltage corresponds to the power source.
The sensitivity is poor:
- Please check if in front of the sensor there shouldn’t be obstructive object that affect to receive the signals.
- Please check if the signal source is in the detection fields.
- Please check the installation height.
The sensor can’t shut automatically the load:
- If there are continual signals in the detection fields.
- If the time delay is set to the longest.
- If the power corresponds to the instruction.